|
General Asylum General audio topics that don't fit into specific categories. |
|
|
|
General Asylum General audio topics that don't fit into specific categories. |
|
In Reply to: camera lighting ... System pic, system thoughts posted by bullethead on January 24, 2015 at 05:39:25:
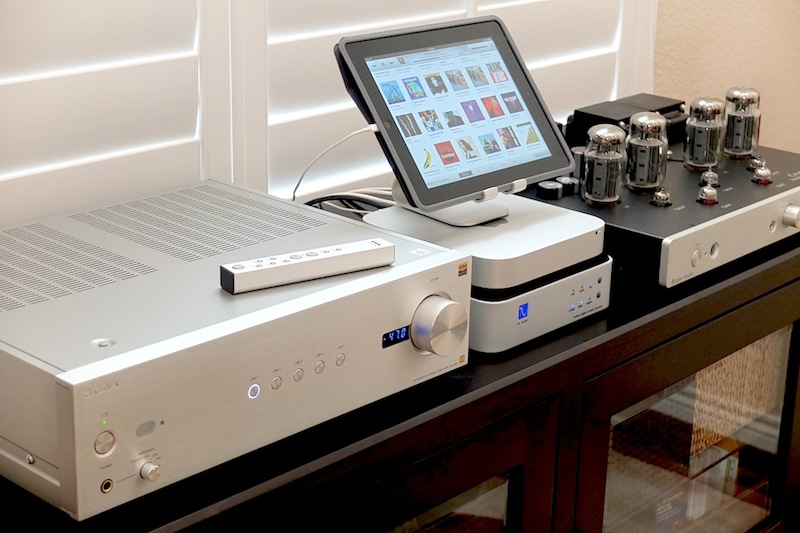
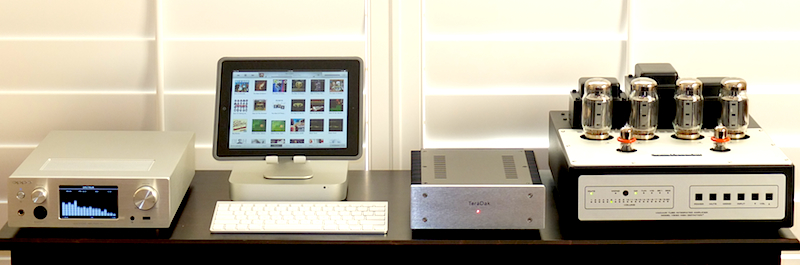
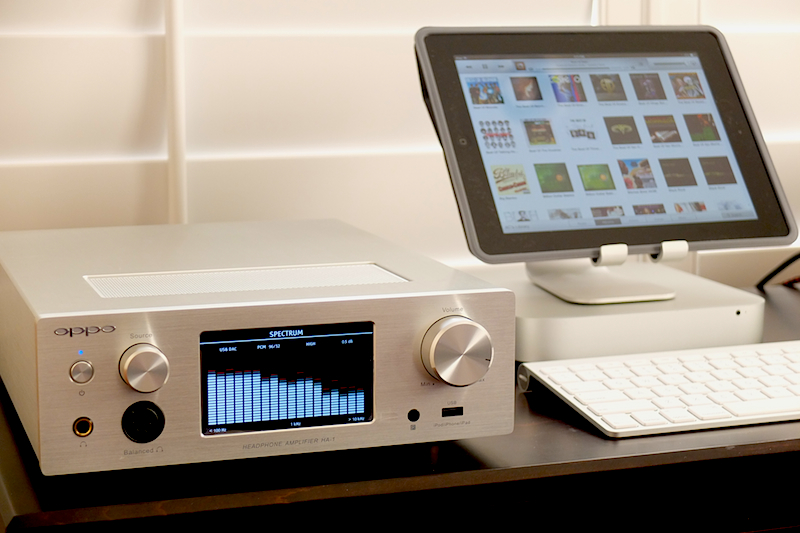
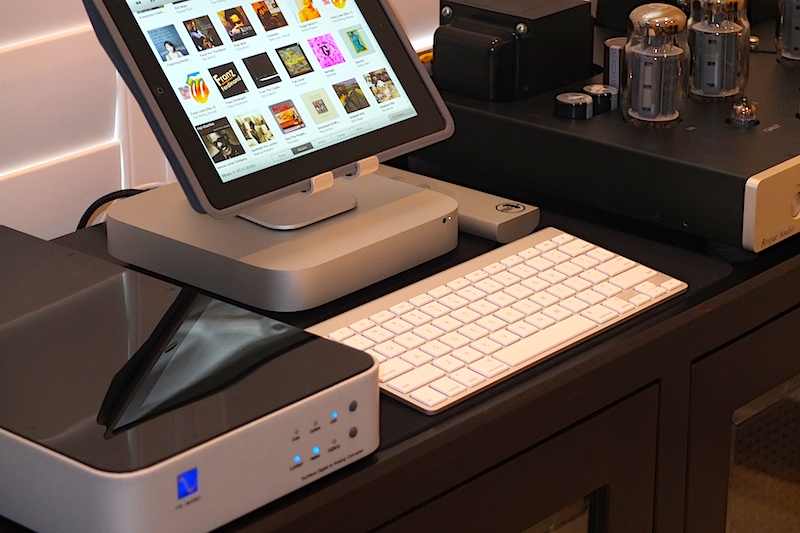
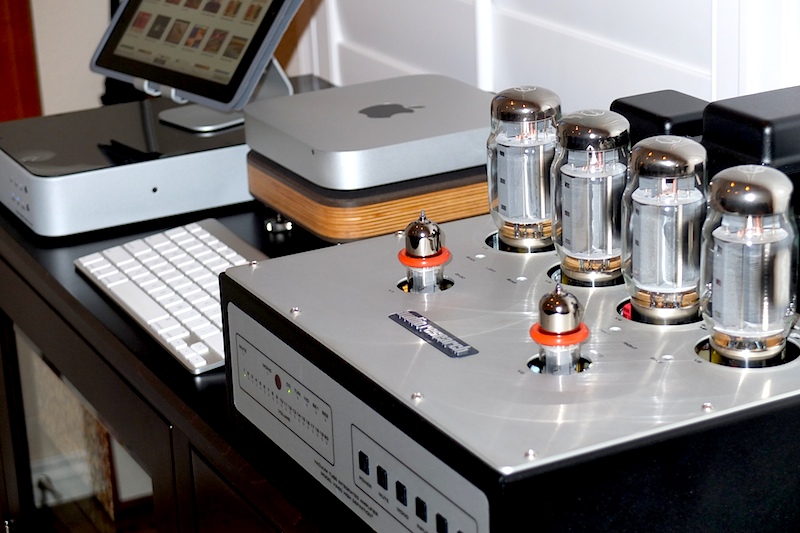
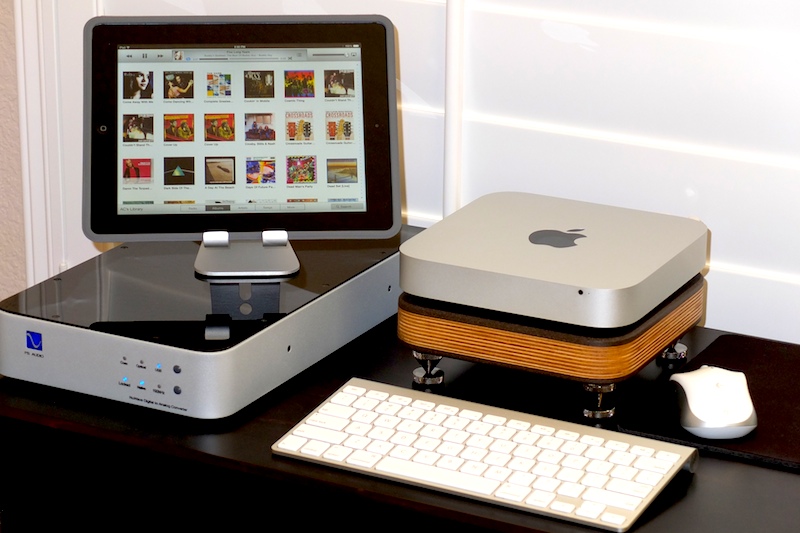
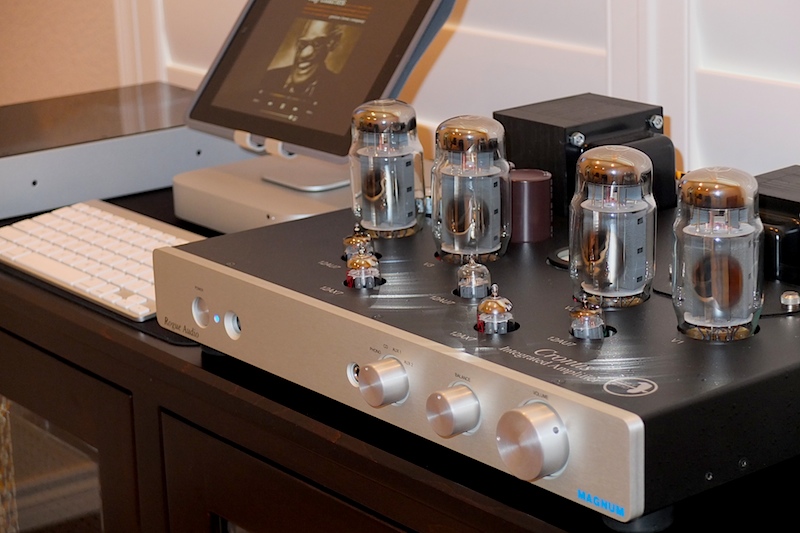
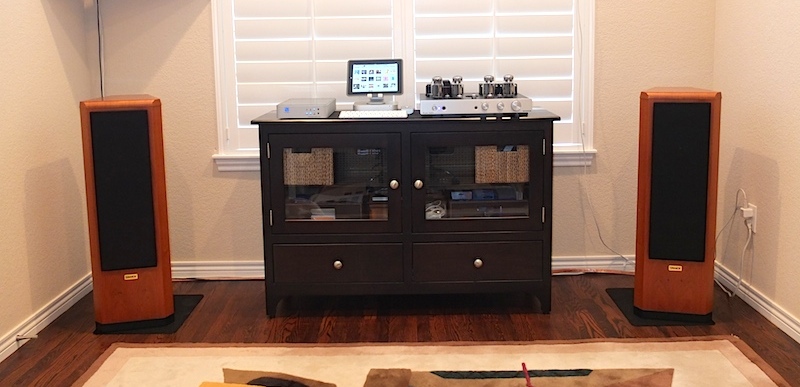
You have a nice setup but in my opinion you need better lighting to capture good photos of your gear. The lighting is significantly more important than the cost of your camera. I'm no pro but I get fairly decent results for my equipment snap shots.
Insufficient lighting causes blur and grainy pictures
Open the shades to bring in as much natural light as possible. Illuminate the ceiling and walls with bright light. This works best if the walls and ceilings are white. If they're colored, it may still work but you run into other problems with the overall color tone of your photos. You'll likely need to adjust the cameras 'white balance' or fix it later in a image editor. If you're on a Mac the Preview application can be used for basic photo editing. There are many free programs as well including GIMP for Mac or PC.
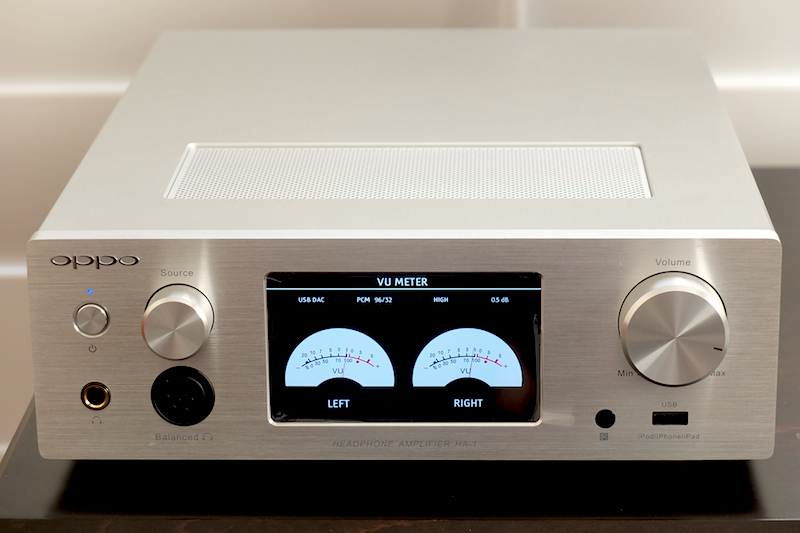
Make sure your front lighting is stronger than your back lighting, or remove unnecessary back lighting. You want the front, top, and sides of your gear illuminated for the most part. Use flash if you have to. If you can bounce it off a white ceiling and walls that helps with even illumination and softens the blast. You can flash directly at your subject to get more detail but the photos might appear a little harsh but in some cases it's better to have sufficient harsh lighting vs dark and grainy pictures. Be careful that the flash on shiny equipment doesn't reflect right back at the camera. You can often avoid this by not shooting 'straight' at the subject but at a slight angle left or right, or up or down. The effect is easily demonstrated by taking a flash picture of yourself in a mirror. Shooting right into the mirror will result in a bright 'flash back' to the camera. Shoot into the mirror at ~45-degrees and it will turn out fine. Same for shooting pictures through windows and such.
If you can't get enough lighting, try using a tripod or a stack of books or whatever to support your camera. Use the camera shutter timer so it snaps the picture w/o your hand on the camera avoiding camera shake. Very light colored or very dark colored subjects might fool the camera exposure system by under or over exposing the shot. Many cameras have an exposure compensation setting so you can increase or decrease your exposure in +/- 1/4 or 1/3 or 1/2 f-stop equivalent increments up to about +/- 3 stops in either direction depending on the camera.
Lighting is key. With sufficient lightly you can also use a smaller lens aperture (higher f-stop number) for sharper images and greater depth of field. A smaller lens aperture will let in less light so the shutter speed will need to be proportionately slower so a tripod becomes even more important to avoid blur due to camera shake. With most cameras in Program Auto mode you don't have control of Aperature and Shutter speed. You can put some cameras in Aperature Priority or Shutter Priority mode giving you full control of one or the other.
I would also look into a basic photography book if you're at all curious how all of this stuff interacts.
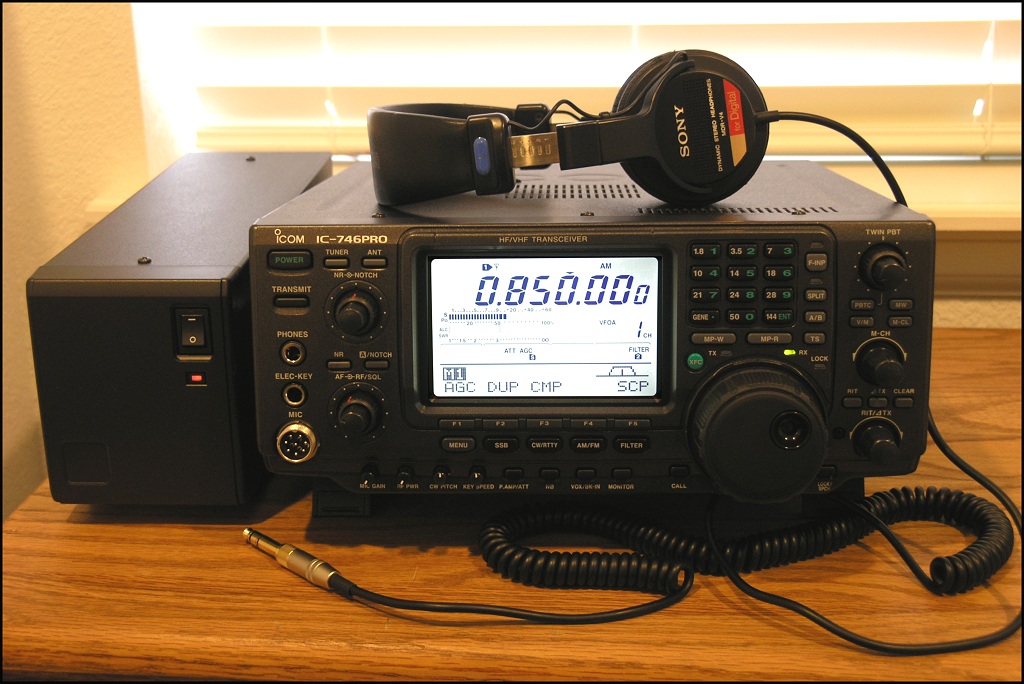
Misc equipment photos were all taken 'hand held' with my compact Fuji point n shoot camera

This post is made possible by the generous support of people like you and our sponsors:
Follow Ups
- RE: camera lighting ... System pic, system thoughts - AbeCollins 11:50:16 01/24/15 (5)
- RE: camera lighting ... System pic, system thoughts - stehno 22:33:07 01/29/15 (0)
- great tour; beautiful shots - nt - Green Lantern 17:04:50 01/25/15 (0)
- RE: camera lighting ... System pic, system thoughts - Garg0yle 08:42:42 01/25/15 (0)
- Killer shots Abe. Well done ! (nt) - reelsmith. 20:02:12 01/24/15 (0)
- RE: camera lighting ... System pic, system thoughts - kkak66 13:14:56 01/24/15 (0)